
A Guide to Increasing Your Email Security and Deliverability: SPF
Category
Guides
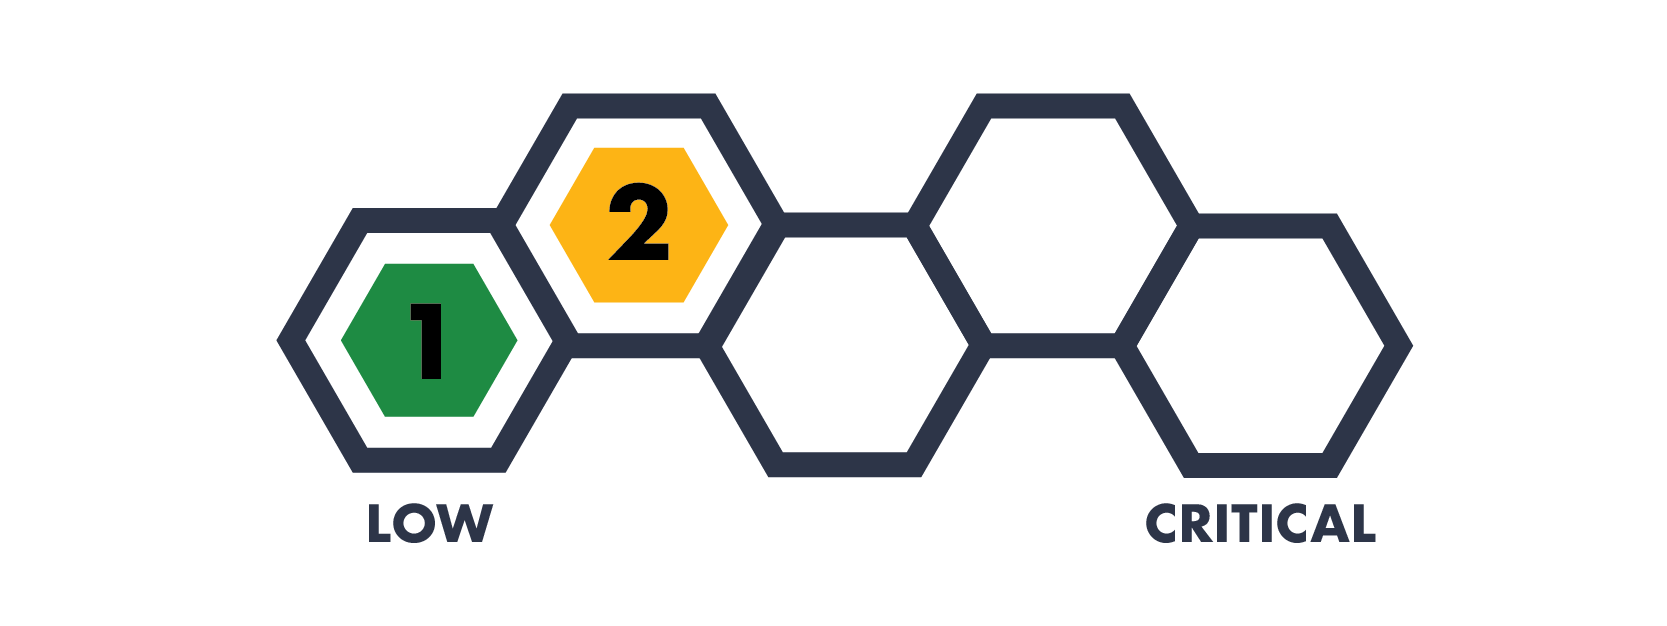
Risk Level
This is part one of a three part series on securing your email. You can read part two here and read part three here.
Also be sure to check out our Round Table discussion of this topic on Hive Live.
Have you ever found out that your email was being used to send spam - and when you check your “sent” folder, you don’t see any suspicious emails? Or have you ever had your legitimate emails end up in someone’s spam folder; including your marketing emails sent through third parties like Constant Contact, Mailchimp, Amazon SES, Salesforce, or SendGrid? This could be due to a simple misconfiguration that could cost you millions in lost revenue or impact your reputation. To boost your email security, we’re starting a three part series to help you address these problems through the proper setup of your SPF, DKIM, and DMARC records.
“Ok hold up. What are those?”
Email technology is old. Like really old. And like most IT, it’s made to work, but it doesn’t always work securely (check out one of our ACT posts to learn a little more). Because of this, emails are generally always delivered, even if it’s not you - which isn’t really fair to you or your organization.
As spam emails increased over the years, there was talk about new ways to combat its rise. Enter SPF, DKIM, and DMARC. In simple terms, all three work to show that your email is from you and can be trusted.
While these aren’t required at the moment to continue delivering emails, the standards are becoming increasingly important. Many large providers, including Gmail and Microsoft 365 are sending emails that don’t meet these standards to the spam folder - even if it’s a legitimate email you sent.
“That’s a huge problem for me. Where do I start?”
Agreed! Luckily you can start to make a difference right now by implementing some changes to your DNS records. At a high level, these are settings for a domain name (e.g. www.hivesystems.io). So for example, if you registered your website “www.mycompany.com” with GoDaddy, you would edit your DNS record on GoDaddy. There are millions of domain providers that you can choose from, and the specific methods to add a DNS record can vary between providers, but the concept is generally the same.
Let’s get started!
Part 1: Creating an SPF Record
SPF stands for “Sender Policy Framework” and specifies which IP addresses and/or servers are allowed to send email “from” a particular domain. This is similar to the physical world when you put a return address on a postal letter. If the recipient knows who the letter is from, they are more likely to open it and read your letter. In the digital world, the recipient is the receiving email server, who decides whether to actually deliver the email to someone’s inbox.
To start, collect a list of all your domains - including ones that don’t send email. You should create a SPF record for every domain you own. For the domains that you use to send emails (i.e. email sent from yourname@yourorganization.com), follow the steps in Step 1. And for the domains that you own, but do not use to send emails (i.e. inactive or parked domains), see Step 2.
STEP 1: FOR DOMAINS THAT SEND EMAIL
You will need to identify EVERYTHING that can send an email “as” your domain. This includes:
Email servers - which can include web based email like Google Workspace or Microsoft 365, or in-office email servers, like Microsoft Exchange.
Email Service Providers (ESPs) - which can include companies that provide email marketing/bulk email services that may send emails on behalf of your domain (e.g. Constant Contact, Mailchimp, Amazon SES, Salesforce, or SendGrid).
Miscellaneous services - which can include help desk ticketing systems, HR benefits providers posing “as” you, or even e-merchant services.
BIG NOTE: SPF requires that the email company can provide you with the correct information to place into your DNS record. Unfortunately not every email company offers the information required to implement SPF. As a result you may not be able to implement SPF for every one of the items you identified above. You can check out a list of companies who provide SPF and/or DKIM capabilities here.
Now that you have your list, head to your DNS provider and add a new entry. Remember, every DNS provider is different in their specific approach, but we’ll cover the general idea. For your SPF record, you’ll create a new entry with the following values:
For the Name, leave it blank or set it to “@” to cover your whole domain.
For the Type, set it to “TXT”
For the TTL, you can leave it as the default value or set it to “1h”
For the Data, you’ll need to create the actual SPF record, which might look something like this:
v=spf1 ip4:123.456.789.012 include:yourmarketingcompany.com -allor maybe like this:v=spf1 ip4:123.456.789.012 ip4: 890.123.456.789 include:yourmarketingcompany.com include:yourothermarketingcompany.com ~all
So what do all of these parts mean?
v=spf1 - This indicates that it is a SPF record. You will always start your SPF record with this value.
ip4:123.456.789.012 - This is where you put the IP address of any email server and/or domain that’s authorized to send email (you know, from the ones you collected earlier). You can also list multiple IPs separated by a space if necessary; either individually (e.g. ip4:123.456.789.012 ip4: 890.123.456.789) or with a CIDR range (e.g. ip4:123.456.789.0/24). If the email server uses IPv4 and IPv6 addresses, make sure to list both here, using “ip6:” for any IPv6 addresses.
include:yourmarketingcompany.com - This is where you put the domain of any email server that’s authorized to send email (from the list you compiled earlier). This would include domains provided by an ESP as noted above. You can list multiple domains separated by a space if necessary, but they must be listed individually (e.g. include:yourmarketingcompany.com include:yourothermarketingcompany.com) and you can only have a maximum of 10.
-all - Tells the receiving email server how it should handle email sent from your domain. If an email comes from somewhere not listed in the SPF record, this will generally tell the email server what to do with the email (more on this later in part 3). There are two options:
~all (tilde all) - This is a soft fail. This means that if an email from your domain comes from an IP/domain not listed in your SPF record, the receiving email sever should note it as possible spam. You should configure your SPF record as ~all until you are sure you have every IP/domain that sends email as you listed in your SPF record. Configuring your DMARC record will help with this transition, which we’ll cover in part 3.
-all (dash all) - This is a hard fail. This means that if an email from your domain comes from an IP/domain not listed in your SPF record, the receiving email server should reject it (i.e. it won’t even deliver it to the recipient’s inbox). Once you are sure you have all of your IPs/domains listed in your SPF record, you should change to to this option to be secure.
STEP 2: FOR DOMAINS THAT DON’T SEND EMAIL
If you have any domains that do not send email (i.e. inactive or parked), it is recommended to publish a locked down SPF record to prevent it from being abused. So create a DNS entry on those domains and set the Data for your SPF record to:
v=spf1 -allSTEP 3: VALIDATE AND MONITOR
After you make the changes to your DNS, you’ll generally have to wait about 48 hours for the changes to propagate across the internet. After that time, you can check to see if your new SPF record is valid using an online tool, like this one. Remember to add any new email companies that you use in the future to your SPF record, otherwise the emails won’t be delivered!
“Is that it?”
That’s it for SPF records, but we’ve got two more parts coming at you! In the meantime, if you’re unsure about how to tackle SPF records, CONTACT US TODAY and we’ll help you secure your email and your marketability. Just ask Hitting Cancer Below the Belt:
Learn about how Hive Helps can provide pro bono cybersecurity consulting for your nonprofit at https://t.co/PfzTXTutom pic.twitter.com/6JbJbAuHa4
— Hive Systems (@hivesystems) September 29, 2020
Follow us - stay ahead.
Read more of the ACT


It's the 2024 update to our Hive Systems Password Table - including using a new “most-hacked” password hash. See why our Password Table has been shown and written about on the news, published by universities, and shared by companies across the globe. How did we make this table? Want to download a copy? Read on!